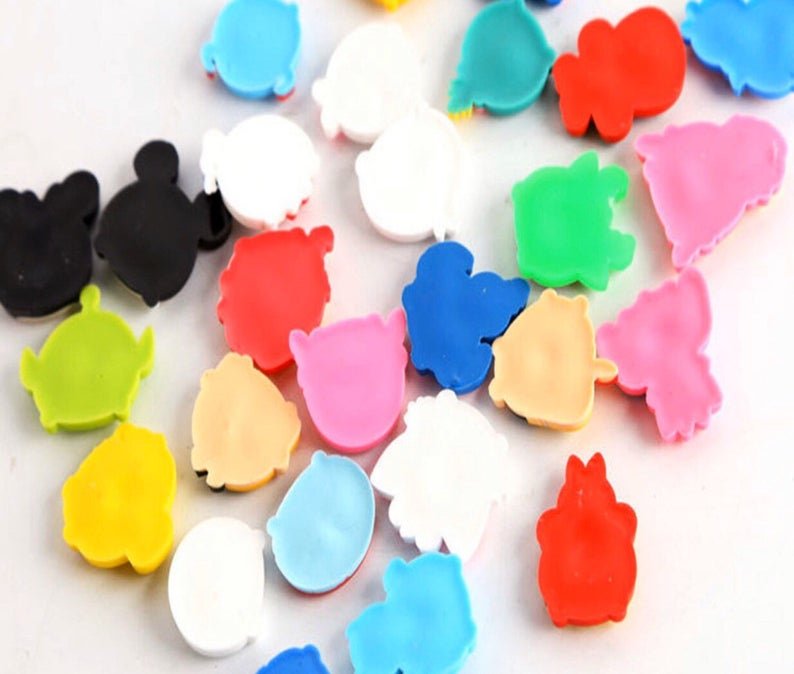
Looking to personalize your Crocs with funky accessories? Ever wondered how to make rubber jibbitz? Look no further! In this blog article, we’ll guide you through the process, step by step, to help you create your own unique jibbitz. Whether you’re a DIY enthusiast or just want to add a touch of creativity to your footwear, we’ve got you covered. So, let’s dive right in and explore how to make rubber jibbitz that will make your Crocs stand out from the crowd. Ready to get started? Let’s go!
How to Make Rubber Jibbitz
Whether you are a fan of Crocs or simply enjoy customizing your accessories, making rubber Jibbitz is a fun and creative project. Jibbitz are small decorative charms that you can insert into the holes of your Crocs shoes to customize and personalize them. In this article, we will guide you through the process of making your own rubber Jibbitz.
Section 1: Materials Needed
To get started, gather the following materials:
- Flexible rubber or silicone material
- Resin or silicone mold
- Acrylic paints
- Paintbrushes
- Glitter, sequins, or other decorative elements
- Hot glue gun
- Jump rings or small keychain rings
- Pliers
- Clear sealant or resin
- Small disposable cups or mixing containers
Section 2: Preparing the Mold
Follow these steps to prepare the mold:
- Clean the mold with soap and water to remove any dirt or debris.
- If using a silicone mold, apply a thin layer of mold release agent to ensure easy removal of the cured charms.
- Place the mold on a flat surface or a tray to catch any spills.
Section 3: Mixing and Pouring the Rubber
- Read the instructions on your rubber material for the correct mixing ratio.
- Pour the required amount of rubber into a small disposable cup or mixing container.
- If desired, add a few drops of acrylic paint to the rubber to achieve your desired color.
- Thoroughly mix the rubber and paint together until well combined.
- Slowly pour the rubber mixture into the cavities of the mold, filling them completely.
Section 4: Adding Decorative Elements
- While the rubber is still wet, sprinkle glitter, sequins, or other small decorations onto the surface.
- Gently press the decorations into the rubber to ensure they stick.
Allow the rubber to cure according to the manufacturer’s instructions before proceeding to the next step.
Section 5: Removing the Charms from the Mold
- Flex the mold slightly to loosen the edges of the charms.
- Gently push on the backside of each cavity to pop the charms out.
- If necessary, use a small tool like a toothpick or craft knife to carefully loosen any stubborn parts.
Your rubber Jibbitz charms are now ready to be further customized and attached to your Crocs or other accessories!
Section 6: Painting and Finishing Touches
- Select acrylic paints in your desired colors.
- Use small paintbrushes to apply the paint to the raised areas of the charms.
- Allow the paint to dry completely before proceeding.
For a shiny and long-lasting finish, you can apply a clear sealant or resin over the painted charms.
Section 7: Attaching Jump Rings or Keychain Rings
- Using pliers, open a jump ring or small keychain ring by twisting it sideways.
- Insert the opened ring through the hole of a Jibbitz charm.
- If you are attaching the charm to a Crocs shoe, slide the ring through one of the holes on the shoe as well.
- Close the ring by twisting it back into position.
Repeat this process for each Jibbitz charm you want to attach.
Section 8: Tips and Tricks
Here are some additional tips and tricks to help you in making rubber Jibbitz:
- Experiment with different colors, shapes, and sizes to create a unique collection of Jibbitz charms.
- Ensure proper ventilation when working with rubber materials and paints.
- Practice proper safety precautions, such as wearing gloves, when handling chemicals or hot glue.
- If you prefer a softer feel for your Jibbitz, consider using silicone material instead of rubber.
- Protect your work area with newspaper or a plastic sheet for easy cleanup.
Section 9: Sharing Your Creations
Show off your creativity by sharing your handmade Jibbitz charms with others:
- Post pictures of your finished Jibbitz charms on social media platforms using relevant hashtags.
- Join online communities or forums dedicated to rubber crafting and Jibbitz customization.
- Consider gifting your handmade charms to friends, family, or fellow Crocs enthusiasts.
Section 10: Final Thoughts
Making your own rubber Jibbitz is a fantastic way to personalize your Crocs and show off your creative side. With a few materials and a little patience, you can create unique and eye-catching charms that reflect your personality. Enjoy the process of crafting and customizing your Jibbitz, and don’t be afraid to experiment with different colors and designs. Happy crafting!
Laser Cut | Acrylic | Croc Pins | Jibbitz
Frequently Asked Questions
How do I make rubber jibbitz?
To make rubber jibbitz, you will need certain materials and a step-by-step process. First, gather basic supplies such as silicone rubber, a mold, coloring agents, and any additional decorative elements like glitter or charms. Then, mix the silicone rubber with the desired color and pour it into the mold. Allow the rubber to cure according to the manufacturer’s instructions. Once cured, carefully remove the jibbitz from the mold and apply any additional decorations. Finally, attach the finished jibbitz to your Crocs or other shoe using the provided holes. Voila, you have your very own rubber jibbitz!
What type of silicone rubber should I use?
When making rubber jibbitz, it is best to use a high-quality silicone rubber that is specifically designed for crafting purposes. Look for a brand that provides a good balance between flexibility and durability. It’s important to choose a silicone rubber that can withstand frequent use and exposure to various conditions without losing its shape or color.
Can I customize the color of my rubber jibbitz?
Yes, you can absolutely customize the color of your rubber jibbitz. This is one of the great advantages of making your own. You can choose from a wide range of coloring agents, such as pigments or liquid dyes, to create the perfect hue for your jibbitz. Experiment with different color combinations to make your jibbitz truly unique and personalized.
Are there any safety precautions I should take when making rubber jibbitz?
While making rubber jibbitz is generally safe, it’s always a good idea to take some precautions. Make sure to work in a well-ventilated area to avoid inhaling any fumes from the materials used. Additionally, wear protective gloves to prevent skin irritation or allergic reactions. Follow the instructions provided by the manufacturer of the silicone rubber and other materials to ensure proper handling and safety.
Can I add additional decorations to my rubber jibbitz?
Absolutely! Adding additional decorations to your rubber jibbitz can make them even more fun and unique. You can incorporate elements like glitter, small charms, or even paint intricate designs with fine brushes. Just keep in mind the size and weight of the decorations so that they don’t affect the functionality or attachment of the jibbitz to your shoes.
How do I attach the rubber jibbitz to my shoes?
To attach the rubber jibbitz to your shoes, simply insert them into the designated holes on your Crocs or other compatible shoes. Gently push the jibbitz through the holes until they fit snugly. Make sure not to force them too hard to avoid damaging the jibbitz or the shoe. Once attached, the jibbitz should stay securely in place as you walk or engage in various activities.
Final Thoughts
In conclusion, making rubber jibbitz is a fun and creative activity that allows you to personalize your shoes. By following a few simple steps, including choosing a design, shaping the rubber, and adding details, you can create unique accessories for your footwear. Whether you prefer animals, sports, or other themes, making rubber jibbitz offers endless possibilities for customization. So, next time you want to add a personal touch to your shoes, try making rubber jibbitz and showcase your individual style.


